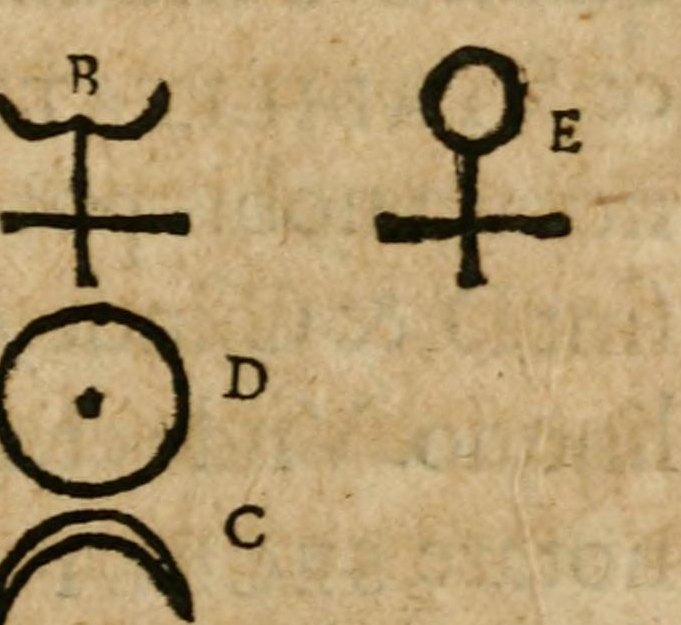
Theorem XX: the monad divided into its members
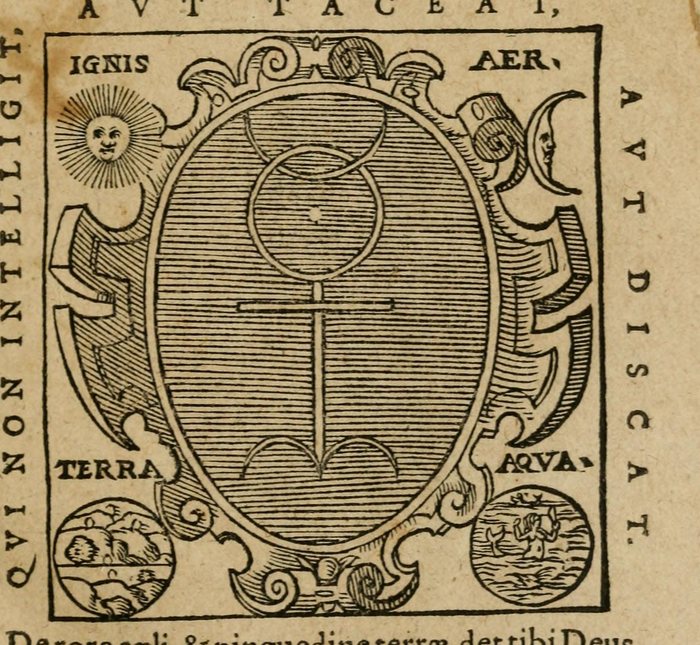
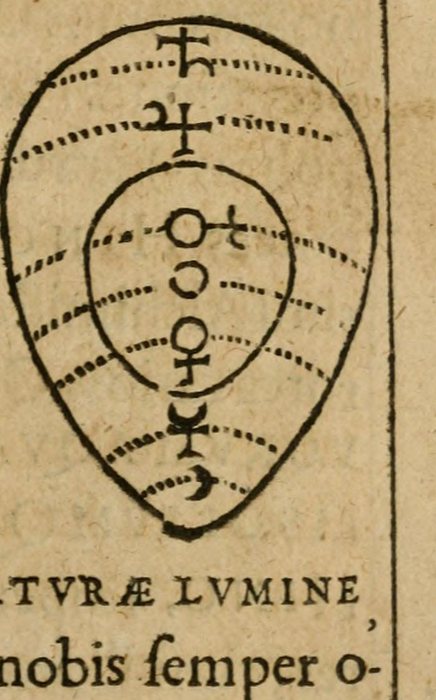
The Sun and the Moon as the central motif. From Monas Hieroglyphica.
What is happening
Symbolica, 2026 Dee's Latin, put into English here: Let us therefore distribute the Monad, placed in this new way, into its anatomical members B, D, C. The three lettered figures are the glyph taken to pieces, which is what the word anatomy means throughout the book.
Key · 1 motif
Tap a motif on the picture, or a line below. Its note opens under the line, with the reading its author gave it.
- Primary motif
The picture
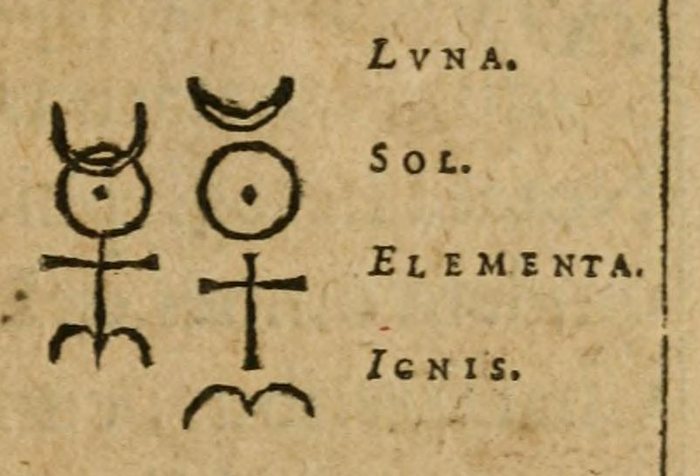
The monad taken apart into three figures lettered B, D and C, the sun and moon, the cross, and the sign of Aries. By eye
The reading
The picture read whole, in the archive's words, from the sources quoted on the marks. Read on, and the picture follows: the motif under discussion keeps its colour.
‘Distribuamus igitur Monadem, (hoc novo modo locatam) in anatomica membra B. D. C.’: let us therefore distribute the monad, placed in this new way, into its anatomical members B, D, C. The figure is the glyph dissected and the parts laid out with letters, as an anatomist letters a plate.
At the left, one above the other, D and C: the sun's circle with its point, and beneath it the moon's crescent, lying on its back. Above them B, the crescent fixed to the top of the cross; at the right E, the circle on the cross, which by itself is the sign of Venus. Dee's word for all this is anatomy, and the figure is the dissection: the two lights that stand joined at the head of the monad are here taken apart and set down separately, so that the reader can see that the glyph was built and can be unbuilt.
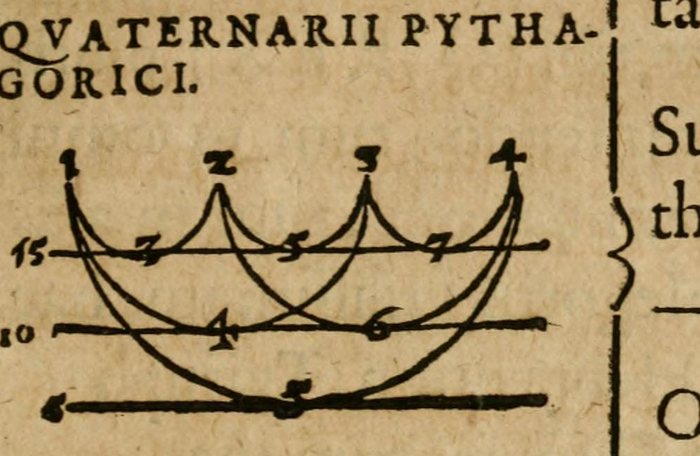
The twentieth theorem goes on to do arithmetic with the pieces, and the figures that follow it in the book are numbers. The archive keeps the woodcut at the size of the page.
Decoded: every motif is marked, and each mark carries the reading its author gave it, quoted from the text, or says that it is observed on the picture and not read. The reading above is the archive's own, made from those sources and no others.
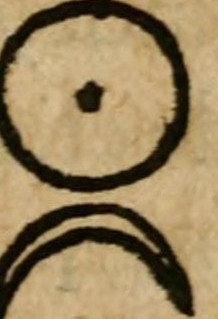
Gold, the perfected metal, and the illuminated intellect. The most overloaded symbol in the tradition.
In plain words Dee takes the glyph to pieces and letters the pieces. D is the sun, a circle with its point; C is the moon's crescent, turned on its back; B is the crescent joined to the cross, and E, at the right, the circle on the cross, which is the sign of Venus. The word he uses is anatomy, and this is the dissection: the sun and moon that were one sign, lying apart on the table.
John Dee, 1564 “Distribuamus igitur Monadem, (hoc novo modo locatam) in anatomica membra B. D. C.”
Symbolica Dee's Latin, put into English here: let us therefore distribute the Monad, placed in this new way, into its anatomical members B, D, C.
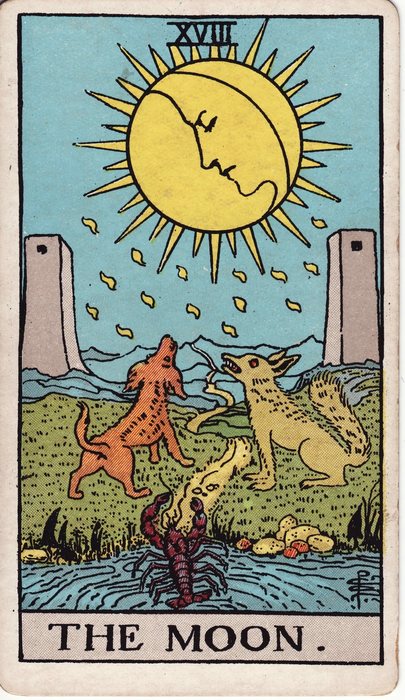
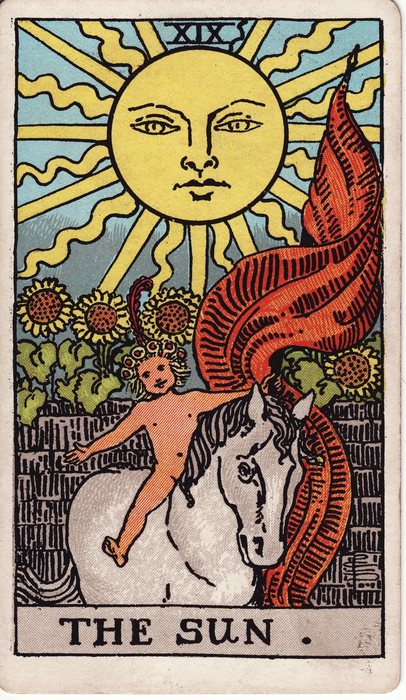
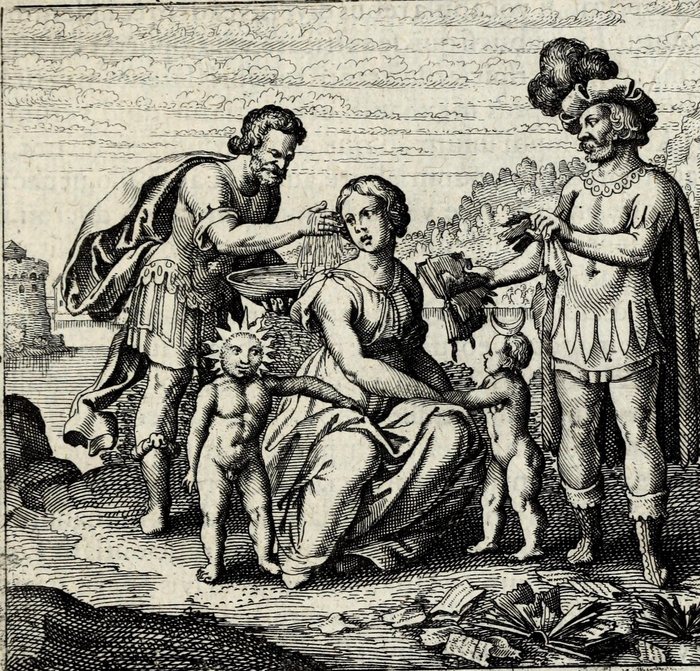
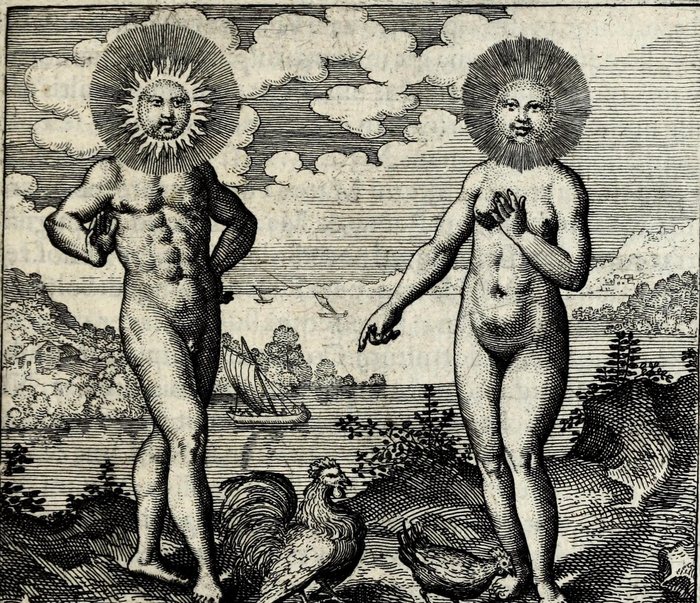
Also carrying the Sun and the Moon
59 works carry it. The 6 where it is the central motif are here. The symbol.
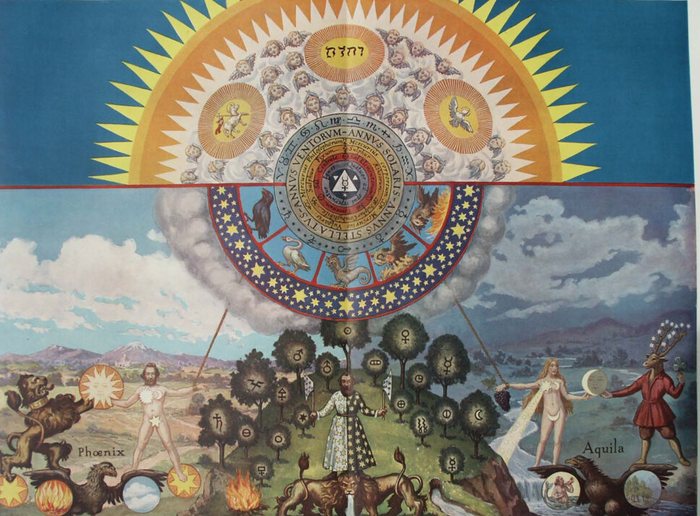
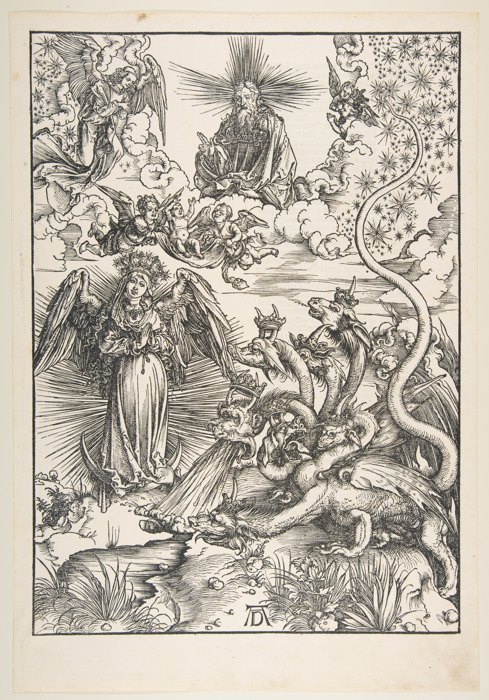
In the same series
Record
One symbol a week, decoded.
This picture is free at full size from its source, linked above. What an address gets is the Sunday letter: one picture, one symbol marked on it, what it meant and who said so, and the master files of the decoded plates as they are verified. Leave any time.
Free, one letter a week, unsubscribe in one click. How the address is used.
Scroll or pinch to zoom · drag to move · double-tap for 1:1 · 681 by 625 pixel web copy; the source file is linked under Record